
HOW DO I UPDATE?
NOTE: ALL USERS SHOULD BE CLOSED OUT OF ALL WISYS PRODUCTS WHILE RUNNING THE WISYS PRODUCT UPDATER unless otherwise directed by WiSys personnel. All user workstations must be updated using the Client Updater immediately following a WiSys Product Update.
You can find the WiSys Product Updater icon on your server or on the server or on the terminal server (if you use handheld devices) at C:\Program Files\WiSys\WiSys Product Updater or C:\Program Files (x86)\WiSys\WiSys Product Updater
The Product Updater must be run from the same location each time it is run, using the same domain administrator account. Therefore more than one user in the organization should know this user name/password.
If you later decide to move locations of the Product Updater, you must use the "Update All Regardless of Date" option in the Product Updater to ensure you have a complete install on that new server.
You must be logged in as an Administrator with Domain Admin rights and Admin rights to the local computer to successfully execute the WiSys Product Updater. When updating on Windows 2008 and later operating systems right click the icon and select Run as Administrator even when logged in as Administrator.
NOTE: Beginning with Build 562, you may be presented with one of three options regarding the installation of .Net 4.1. If you do not have .Net 4.1 installed, it will simply install as part of the update process. If you already have .Net 4.1 installed, the installer will tell you so and you may complete the update as seen in Figure A below. If the installer presents you with the choice to Repair or Uninstall, choose "Repair". Choosing "Repair" will require an immediate
reboot of the server to complete the .Net 4.1 installation.
Figure A: .Net 4.1 already installed
Figure 1: Product Updater Icon

The WiSys Product Updater will launch and check for a new version.
Figure 2: Launching the Updater
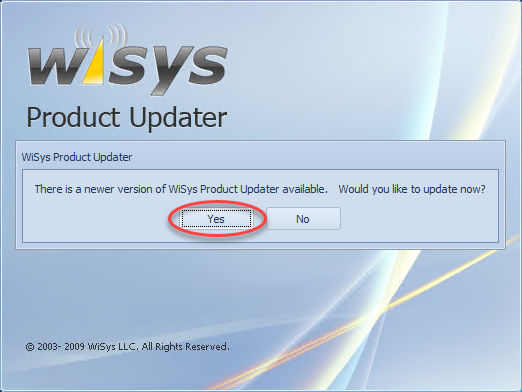
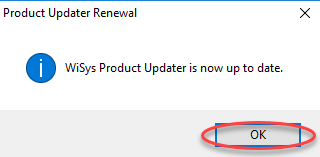
If a new version of the Updater is available a message will appear asking if you would like to update now. Click "Yes” to continue. After the newest version is installed you will receive a message that the Product Updater is up to date. Click "OK”.
Figure 3: Product Updater is up to date
Note: If you have not updated in several months, the Updater may ask you to renew itself a few times. Click "Yes" to renew each time until the Updater asks for SQL server credentials as in Figure 4 below. If you click "yes" more than 4 times and do not advance to the SQL server log in dialogue, contact WiSys Support for further assistance.
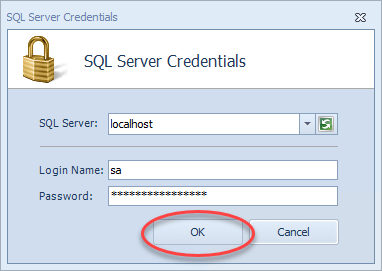
When the Updater launches you are presented with a SQL Server login dialogue. Type in your SQL Server, SA User name and SA Password in the appropriate fields and click "OK”. You MUST have an SA Password to continue installation.
Note: WiSys does not support any SQL user other than SA as we cannot guarantee the integrity of the installation if this is not used.
Figure 4: SQL Server Login
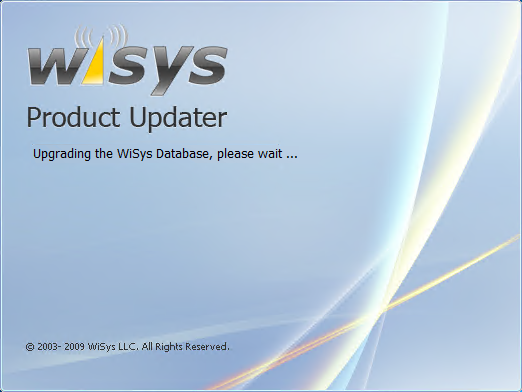
The updater will then look for the presence of the WiSys Database. If it is not found, it will then create it.
Figure 5 and 6: WiSys Database Upgrade

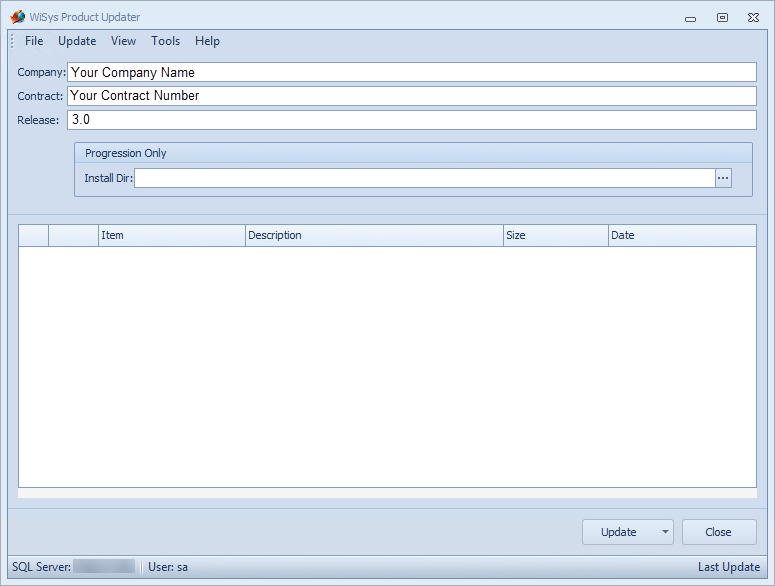
After the WiSys Database is created/upgraded, the WiSys Product Updater will launch and ask for Company, Contract and Release. You must enter your Company name and License number and version exactly as they appear in the e-mail you received when you purchased WiSys. Also, if you are using Progression, you are required to fill in the Progression install directly. This step is not necessary for Macola ES users.
Note: During subsequent running of the Updater you will not have to enter the Company name and License number, the Updater will "remember” that information.
Figure 7: Product Updater Main Window with Company name, License and version
If this is your second or subsequent update, the Company, contract and release information will automatically fill in. If this is your initial update you will need that information from your registration email you received at purchase.
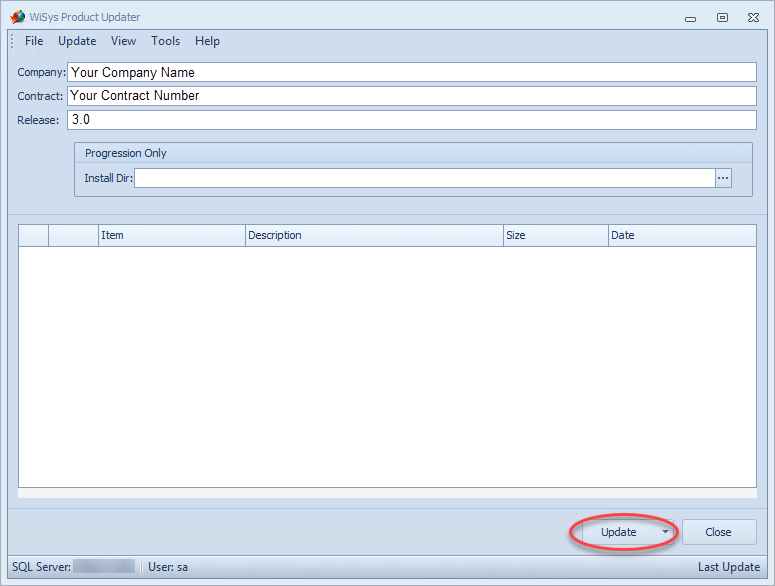
Upon filling in your company, contract and release information, click the "Update” button in the lower right-hand corner.
Figure 8: Alternate Product Updater Main Window for Progression Users
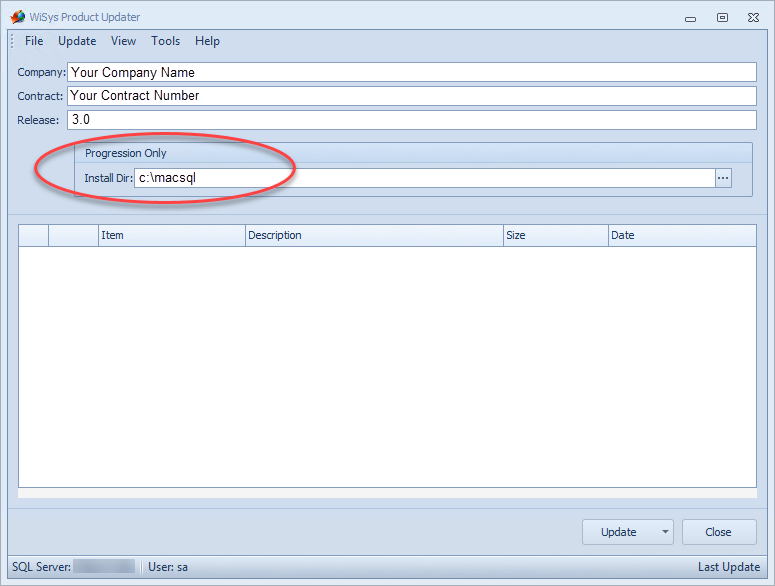
Note: Progression users must indicate the Install Directory in use.
Figure 9: Click "Update" to continue
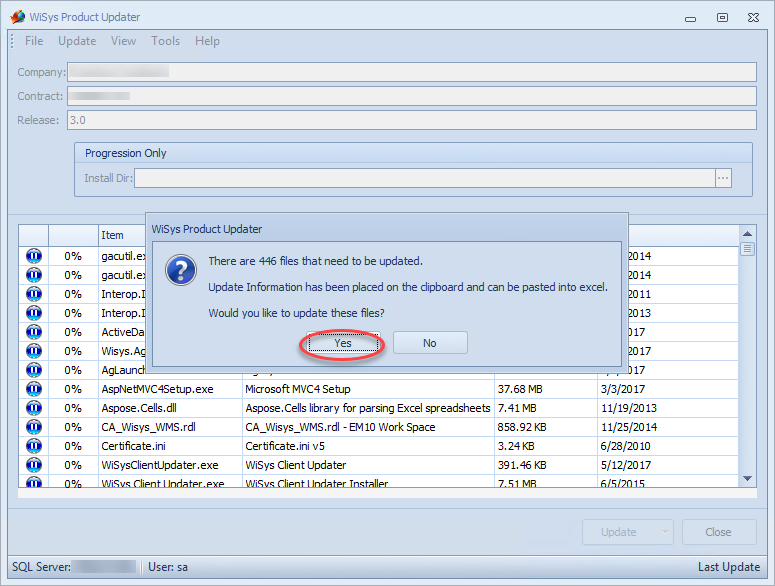
The Updater will tell you that it is getting files from the WiSys server. Then it displays the number of files to download and install. The number of files displayed will vary based on the length of time since your last update. Click "Yes” to begin the installation.
Figure 10: Choose Yes to begin update
Click "Yes” to continue.
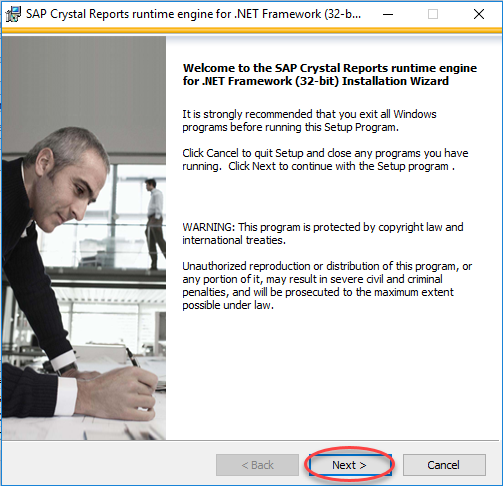
Some files in the update may need to run an additional installation wizard. Below are instructions on how to install the Crystal Reports runtime if it is presented.
Figure 11: Runtime components notice
Click "OK” to continue.
Figure 12: Runtime Install begins
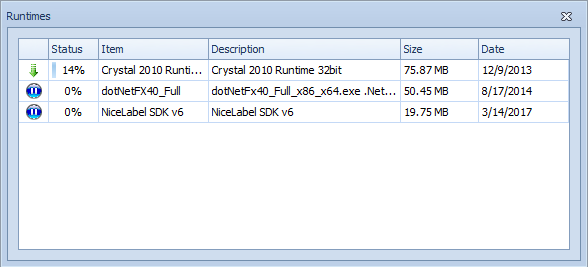
Figure 13: Crystal Reports Wizard
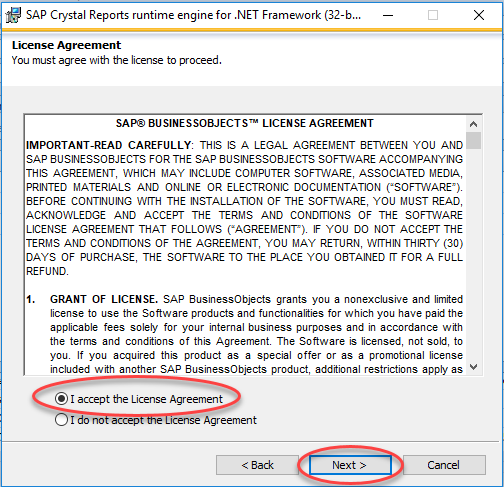
License Agreement. Check the “I accept the license agreement” radio button and click “Next”.
Figure 14: License Agreement
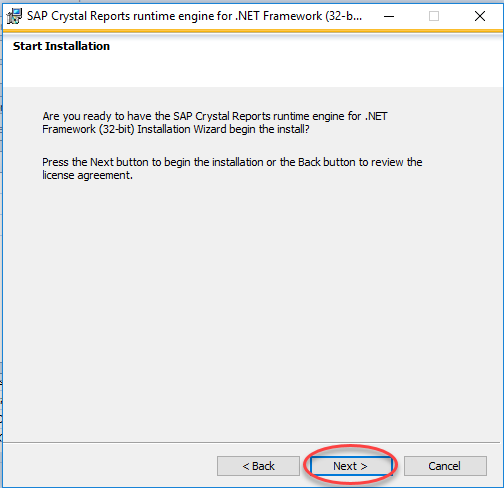
Click “Next” to begin the installation.
Figure 15: Begin the Installation
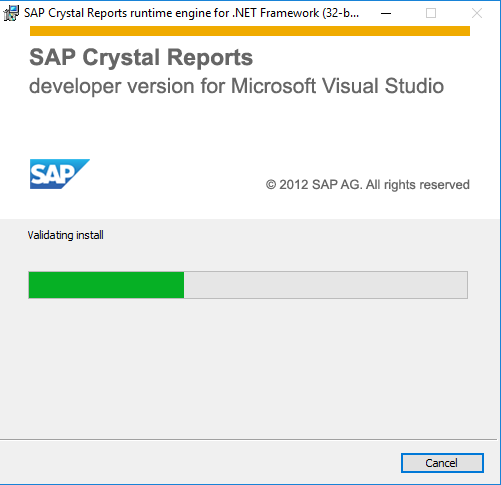
The Installation will begin
Figure 16: Installation Progress
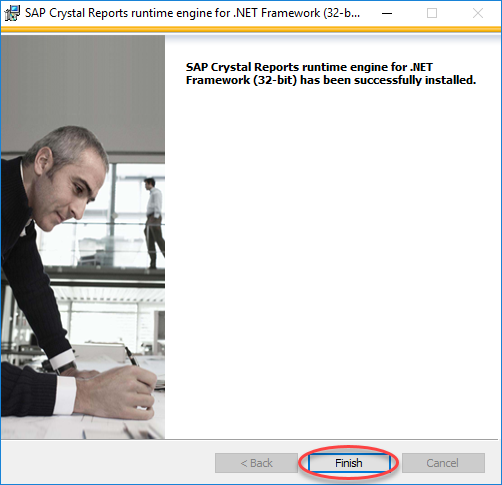
Click "Finish” when the Crystal Reports Runtime is completed.
Figure 17: Crystal Reports Runtime completed
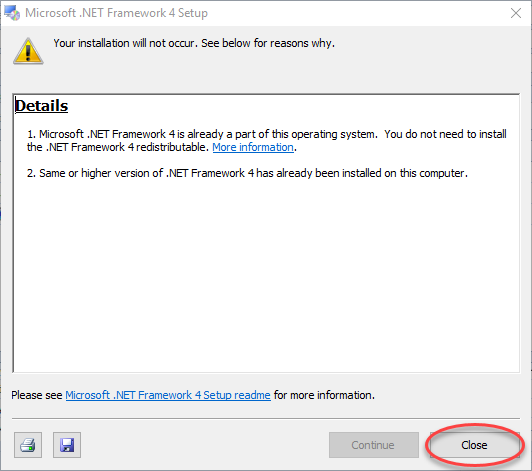
The Microsoft .Net Framework 4 Setup will begin. In many instances this is already installed on the workstation. If this is the case you will be notified that it already part of the OS and you can close the setup window.
Figure 18: Microsoft .NET Framework 4 Setup
The NiceLabel Runtime Installation will begin.
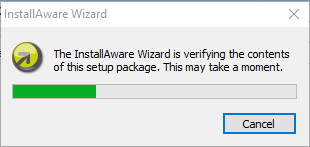
Figure 19: NiceLabel Install Wizard Begins
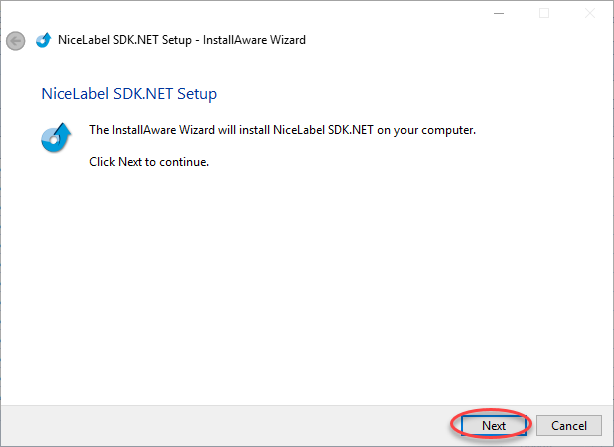
The NiceLabel SDK.NET Setup – InstallAware Wizard will begin. Click “Next”.
Figure 20: NiceLabel SDK.NET Setup – InstallAware Wizard begins
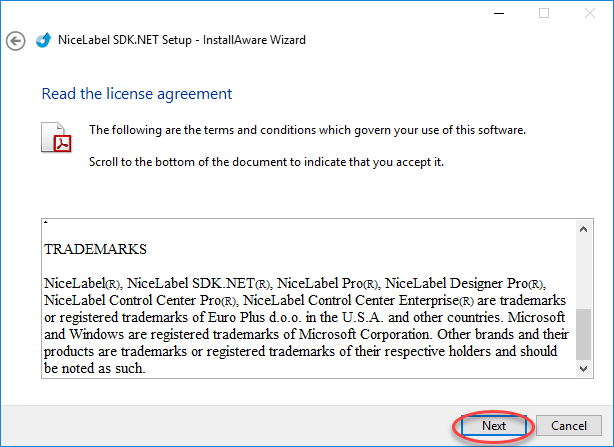
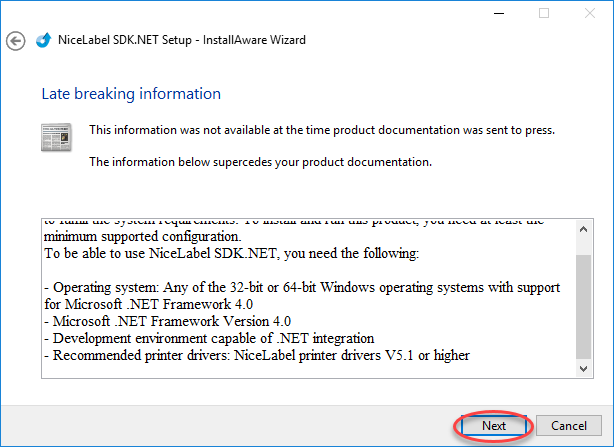
Then NiceLabel License Agreement will display, scroll to the bottom of the text box and click “Next”.
Figures 21 and 22: NiceLabel License Agreement
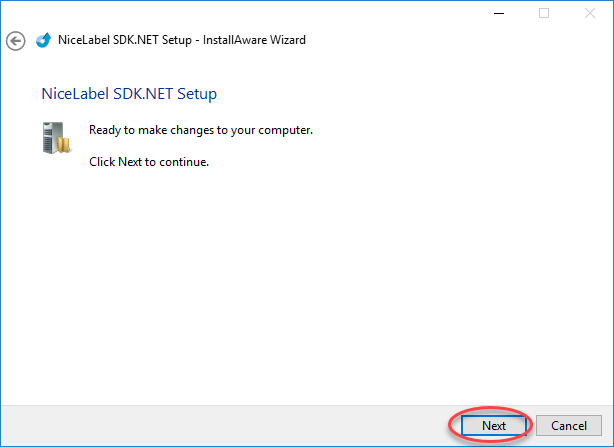
NiceLabel SDK.NET is now ready to install. Click “Next”.
Figure 23: NiceLabel SDK.NET Setup is ready
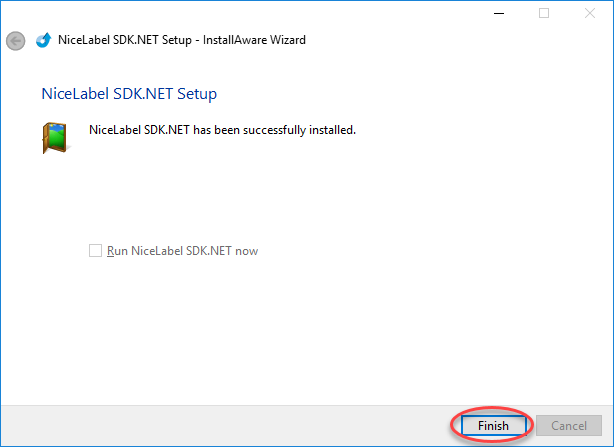
Installation completes. Click “Finish”.
Figure 24: NiceLabel SDK.NET Successful Install
Upon completion of Runtime Installation, the WiSys files begin to install
Figure 25: Choose Macola databases for adding tables
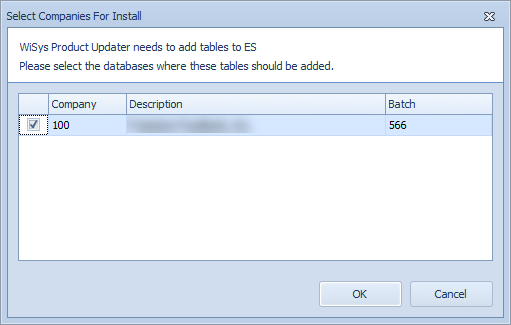
You must select at least one database. Check the box in the left column for those you wish to update. Click "OK” to continue.
Note: You will be able to choose databases each time you run the Updater. This allows you to update different databases at different times if needed (e.g. test vs production).
Figure 26: The Updater now begins downloading and installing components.
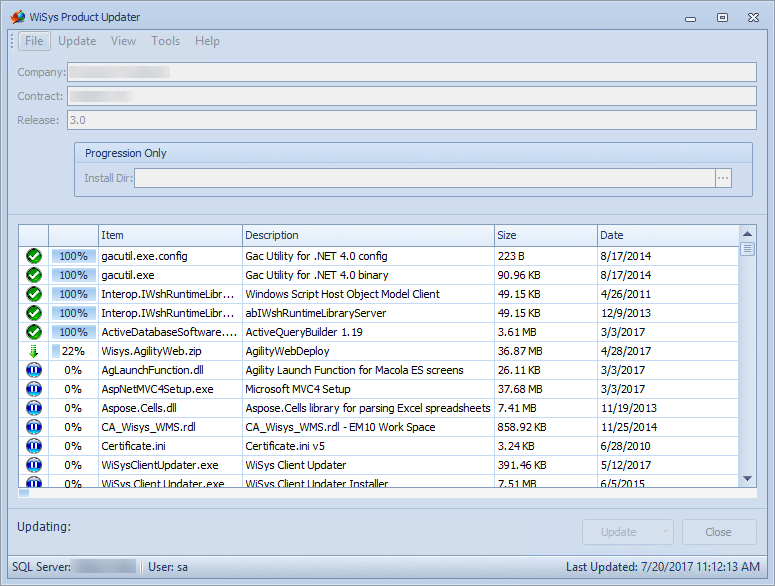
As each file finishes the row will indicate that it has been updated.
Figure 27: Successful Update of files
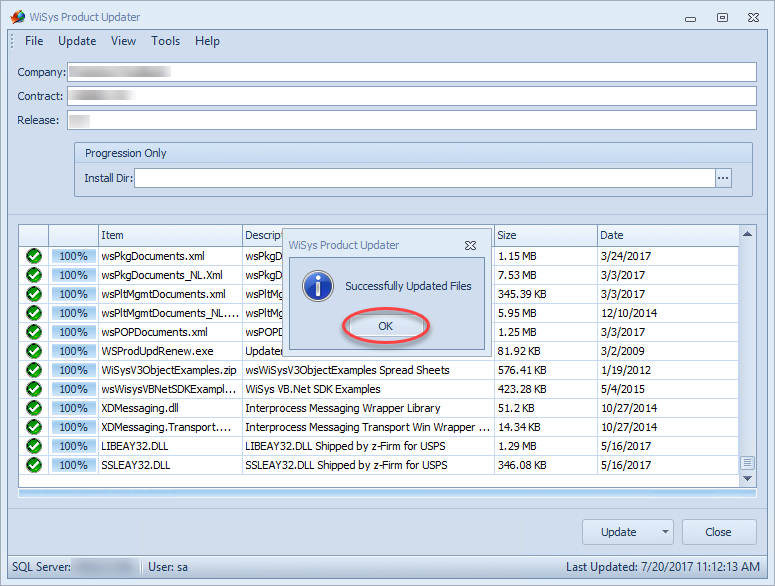
At the conclusion of the installation click "OK” to finish
Figure 28: The Updater has finished
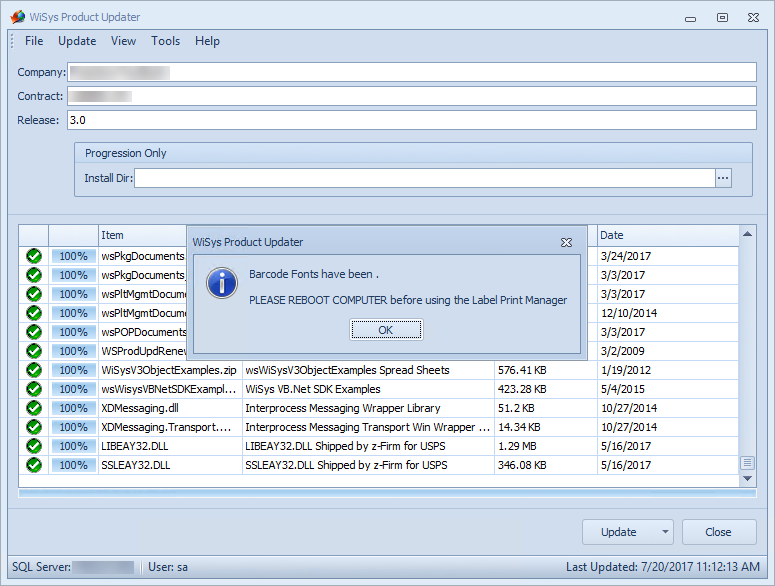
The installation may create shortcuts on the desktop depending on what product you have purchased.
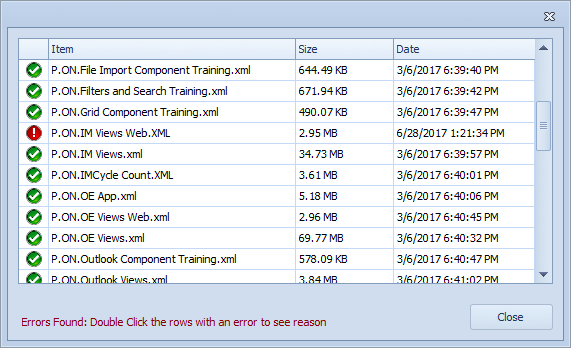
Occasionally, the Updater may present an error when downloading sql scripts. Double click the row with the red exclamation to see the reason for the error.
Figure 29: Error screen
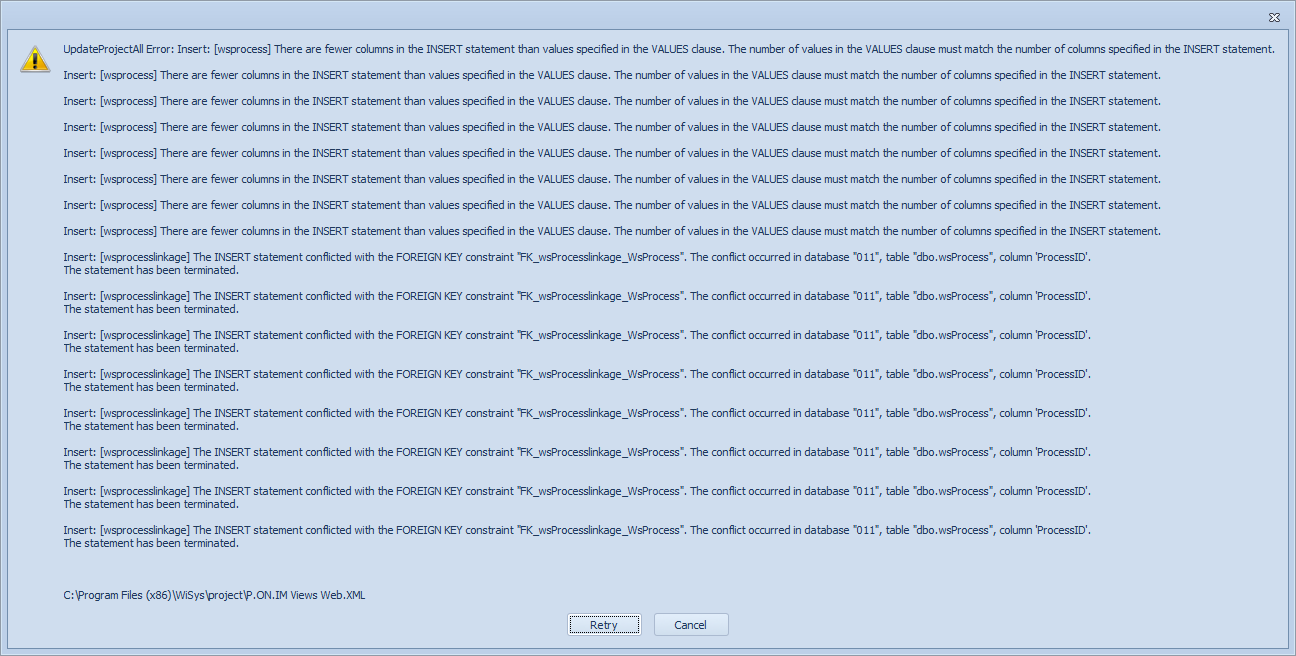
The next screen will show details of the error. Click "retry" to click through the error.
Figure 30: Error detail
If you have encountered these errors, please rerun the Product Updater to be certain all errors have cleared.
The Updater will install Agility Explorer and Agility Design Studio (if properly licensed) icons on the desktop.
NOTE: On rare occasions some sites may see the error messages as seen in Figure 22 below. If this occurs while you are updating, temporarily disable the firewall, anti-virus, and VPN on the machine where you are performing the download, and retry.
Figure 31: Error

After all the files have installed, the Updater may ask some feedback questions. Please check the appropriate box to provide WiSys with feedback to improve future updates.
Figure 32: Survey questions
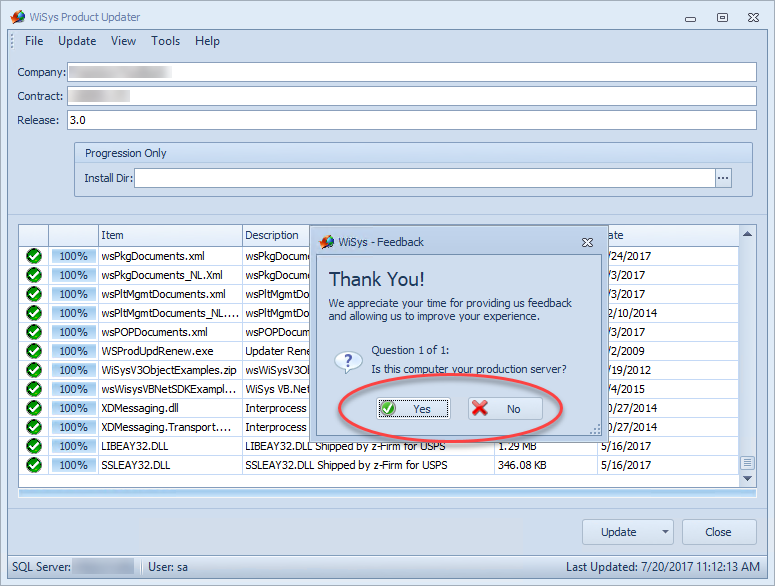
Figure 33: Icons for Agility Explorer and Agility Design Studio

After the WiSys Product Updater has been run, the Client Updater must be run on each workstation. Beginning with Build 562, users will get a warning message when opening their WiSys products until this update is performed. The user may not be able to open the application, depending on what client updater settings the administrator has chosen. For more information on the client access settings please visit WMS Settings-Enterprise
Administrators may also elect to enable the WiSys Client Service to automatically update the clients following a product update. For more information on this topic please visit How To Install and Troubleshoot the WiSys Client Service
If the WiSys Product Updater was run on the server where terminal or remote desktop services is installed, it is not necessary to run the client updater on that server. If the Product Updater was run on the SQL server, it IS necessary to run the Client Updater on the server where terminal or remote desktop services is installed.
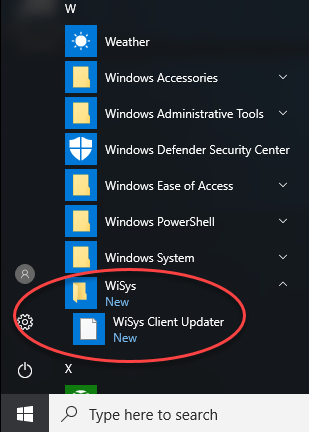
You can launch the Client Updater by clicking
Start | WiSys | WiSys Client Updater
Figure 34: Launching the updater
You can also launch the updater by clicking on the desktop icon.
Figure 35: WiSys Client Updater Icon

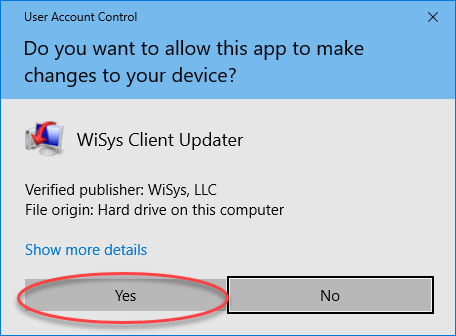
If you are asked to allow this app to make changes to your device, click “Yes”.
Figure 36: User Account Control Acceptance
The first screen will ask for your SQL server. Select the server and click "OK".
Figure 37: SQL server
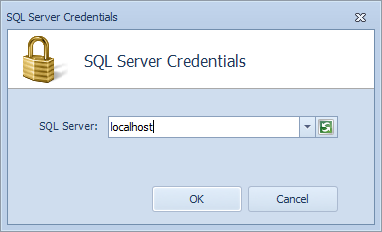
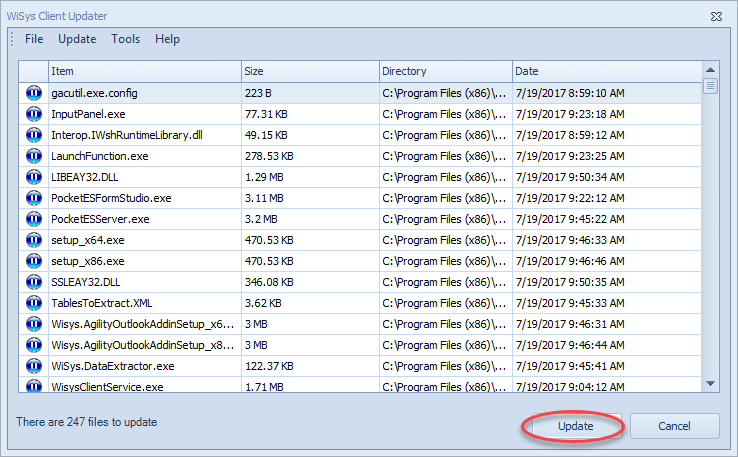
Figure 38: Files to update
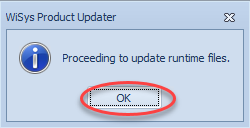
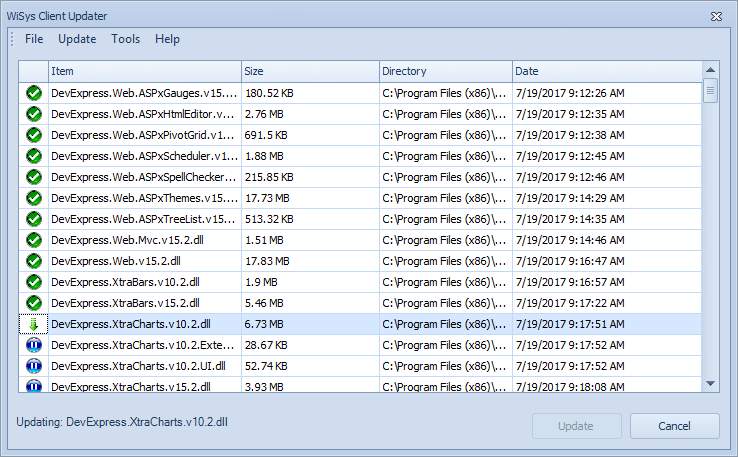
Some files in the update may be runtime files which need to be updated. Click "OK” to update these files.
Figure 39: Runtime files message

Figure 40: The CRRuntime install begins

The Crystal Runtime files may take several minutes to install. You will see several screens throughout this process.
Figure 41: Crystal Reports Wizard
License Agreement. Check the “I accept the license agreement” radio button and click “Next”.
Figure 42: License Agreement
Click “Next” to begin the installation.
Figure 43: Begin the Installation
The Installation will begin
Figure 44: Installation Progress
Click "Finish” when the Crystal Reports Runtime is completed.
Figure 45: Crystal Reports Runtime completed
The Microsoft .Net Framework 4 Setup will begin. In many instances this is already installed on the workstation. If this is the case you will be notified that it already part of the OS and you can close the setup window.
Figure 46: Microsoft .NET Framework 4 Setup
The NiceLabel Runtime Installation will begin.
Figure 47: NiceLabel Install Wizard Begins
The NiceLabel SDK.NET Setup – InstallAware Wizard will begin. Click “Next”.
Figure 48: NiceLabel SDK.NET Setup – InstallAware Wizard begins
Then NiceLabel License Agreement will display, scroll to the bottom of the text box and click “Next”.
Figures 49 and 50: NiceLabel License Agreement
NiceLabel SDK.NET is now ready to install. Click “Next”.
Figure 51: NiceLabel SDK.NET Setup is ready
Installation completes. Click “Finish”.
Figure 52: NiceLabel SDK.NET Successful Install
Upon completion of Runtime Installation, the WiSys files begin to install
Figure 53: Completing installation of files
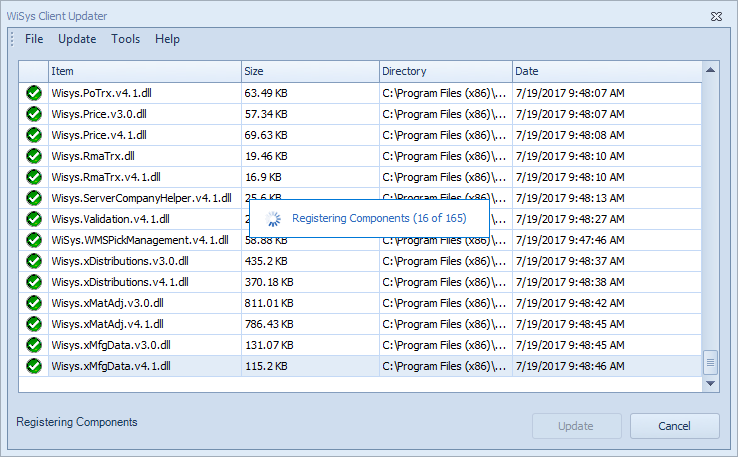
Upon completion of file installation, components will begin to register.
Figure 54: Registering Components
A message will appear when the workstation is successfully updated. Click "OK” to complete.
Figure 55: Successful update
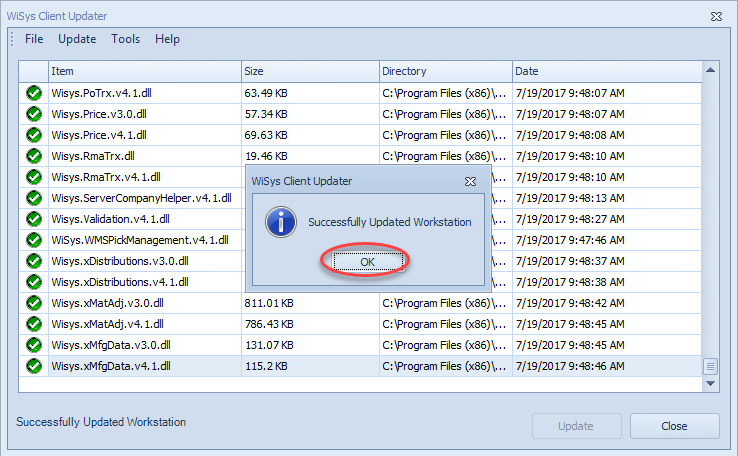
Reboot the client PC following the successful update message.