INSTALLING SHIPRUSH ON THE SERVER
System Requirements:
ShipRush should be installed on the least busy server on the network. We do NOT recommend installing ShipRush on the SQL server.
Ideally the server where ShipRush is installed should have Solid State drives for performance reasons.
Start by downloading the latest installation file directly from the ShipRush Server.
http://www.shiprush.com/downloads/product_downloads.shtml
Always install ShipRush versions in the following sequence. UPS Pro, FedEx, USPS
Be sure to be logged in as a user with full admin rights to the PC or Server the install is being performed on.
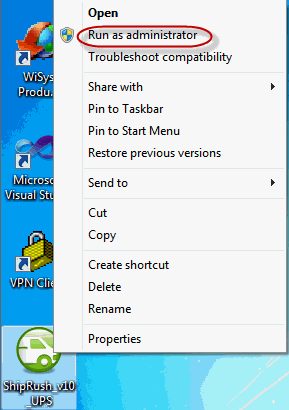
For Windows Server 2008 and later, right click the ShipRush_v10_UPS icon and select ‘Run As Administrator’. This step is required even when you are already logged in as an Administrator.
Figure 1: Run as Administrator
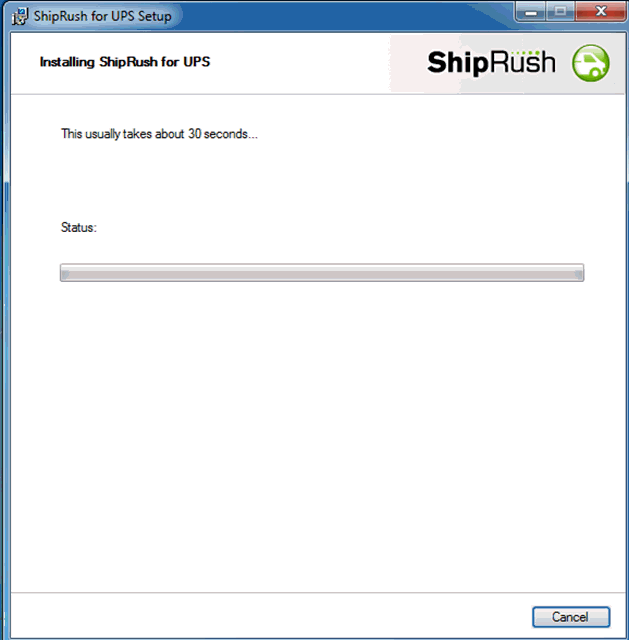
Next you will see ShipRush installing its programs.
Figure 2: ShipRush installation begins
Followed by a Welcome to ShipRush screen
Figure 3: ShipRush Welcome Screen
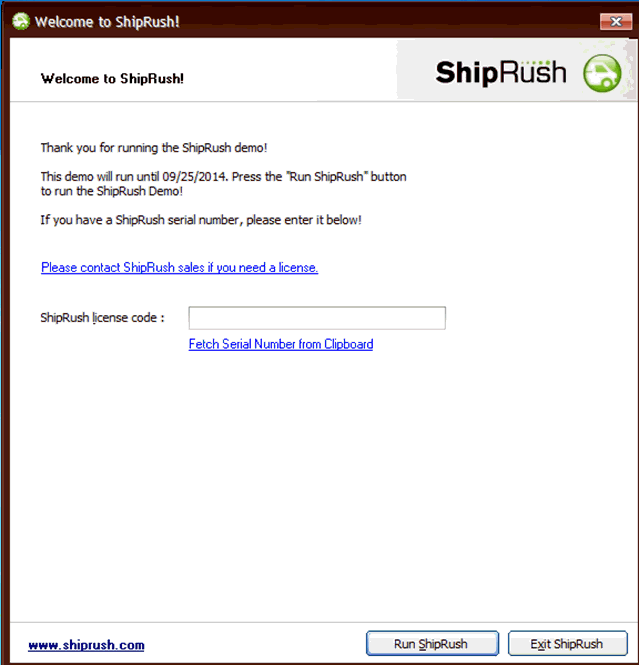
On this screen please enter the License Code that was provided to you by WiSys when your system was purchased and click the Run ShipRush button. If you do not have this code, please e-mail support@wisys.com and they will get it to you. DO NOT proceed past this screen without the proper license code.
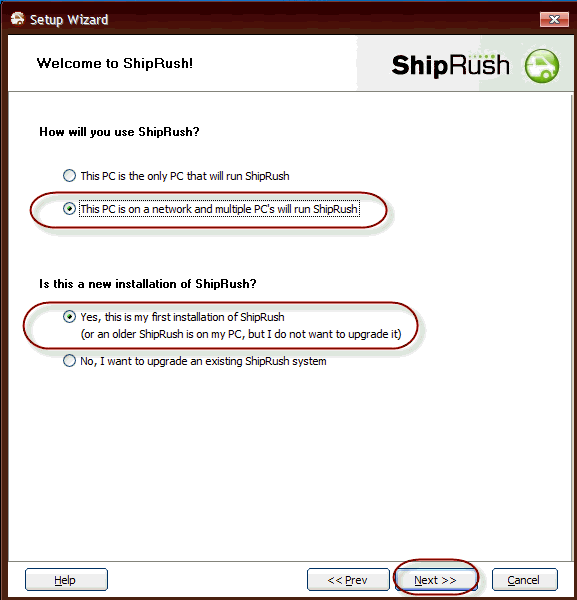
At this time you will be presented with a series of options as seen below. For the server install, under the “How will you use ShipRush” section, please select “This PC is on a network and multiple PC’s will run ShipRush”. Under the “Is this a new installation of ShipRush” section, please select “Yes this is my first installation of ShipRush”.
Figure 4: ShipRush Options
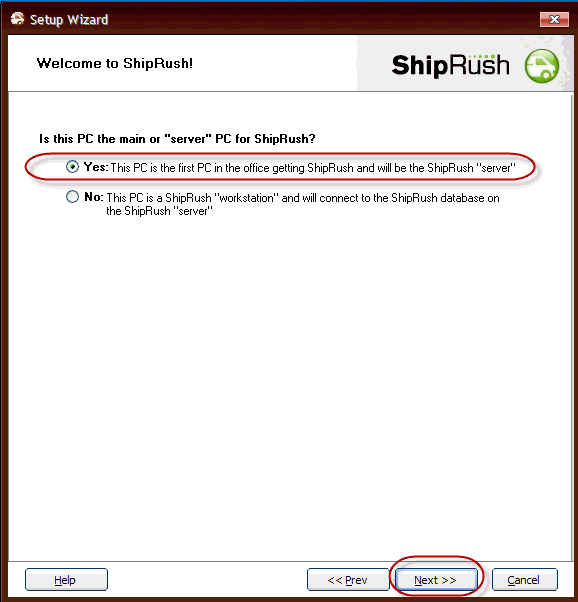
On the following screen in the “Is this PC the main or “server” PC for ShipRush? Section, please select “Yes:This PC is the first PC in the office getting ShipRush and will be the ShipRush “server”” and then click Next.
Figure 5: Establishing server PC
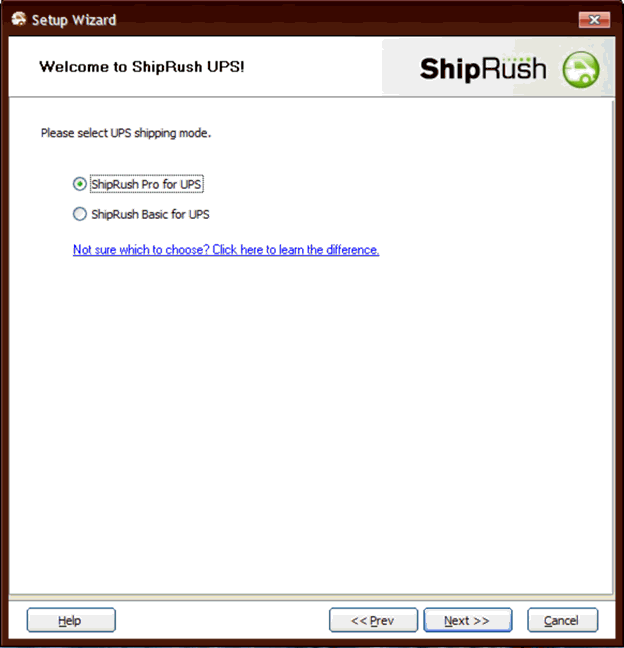
On the following screen, click Next to begin downloading the UPS Pro components.
Figure 6: Downloading UPS Pro components
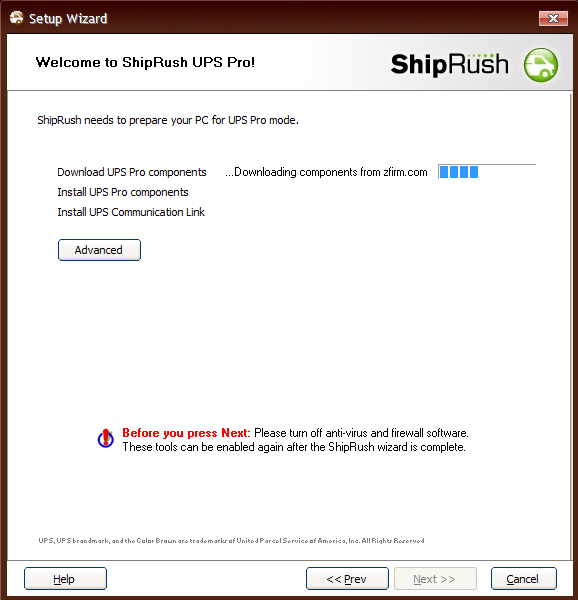
You will then see the components being downloaded and installed from the ShipRush servers.
Figure 7: Components download
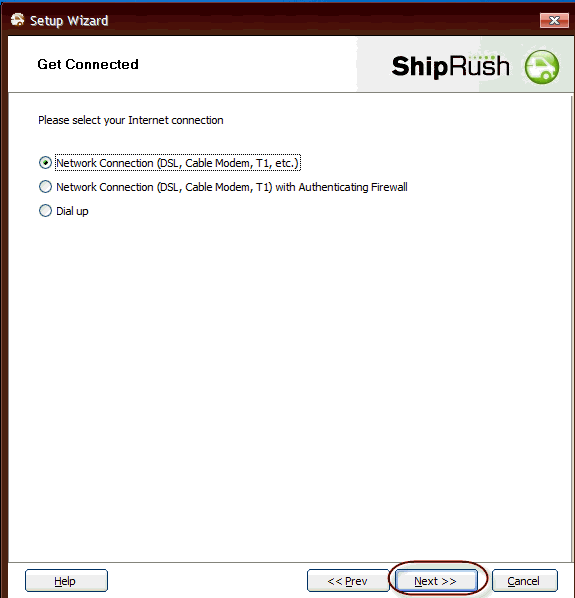
When the download and install are complete, you will be prompted to select your internet connection method. Select the method that best fits your environment (most likely the default) and click Next to proceed as seen below:
Figure 8: Select Network Connection
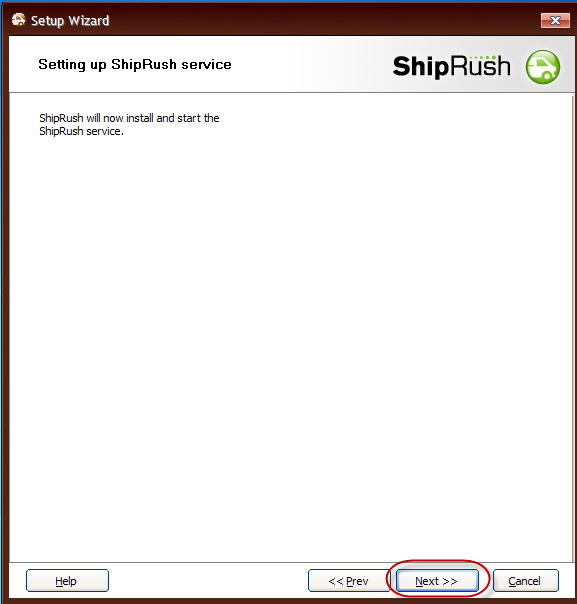
You will then be notified that the ShipRush service will be installed and started on this machine. Please click Next to begin that process.
Figure 9: Installing and starting the ShipRush Service
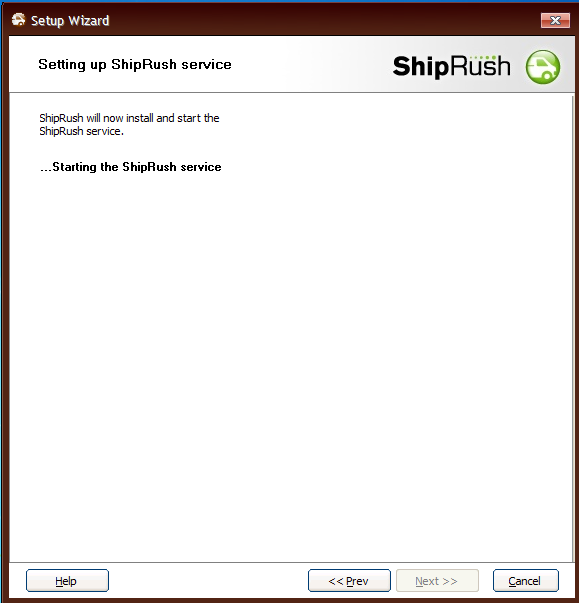
ShipRush will install and start.
Figure 10: Starting the service
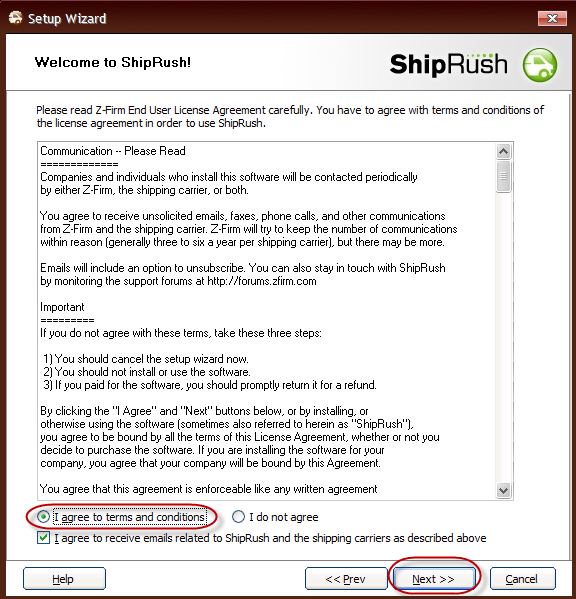
Once the service is installed and started, ShipRush will prompt you to accept their license agreement Terms and Conditions. Please select the ‘I agree to terms and conditions’ choice and click Next to proceed.
Figure 11: Setup Wizard
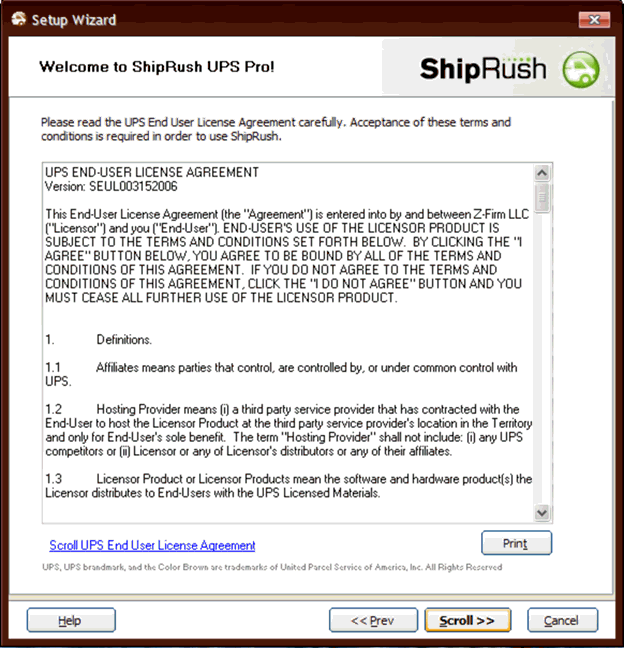
You will then be prompted to accept the UPS End User License Agreement. Please click the Scroll button to get to the bottom of the agreement and then select “I agree to terms and conditions” and click Next to proceed.
Figure 12: End User Agreement
The next screen will ask you to enter your UPS account information. This information MUST MATCH EXACTLY to what is on the monthly invoice you receive from UPS. Any changes may cause the account validation process to fail. Once the necessary information is entered, please click Next to continue.
You will then see the account being activated
If something is incorrect in the account information screen, a message similar to the one below will be displayed.
Figure 13: Account registration failure
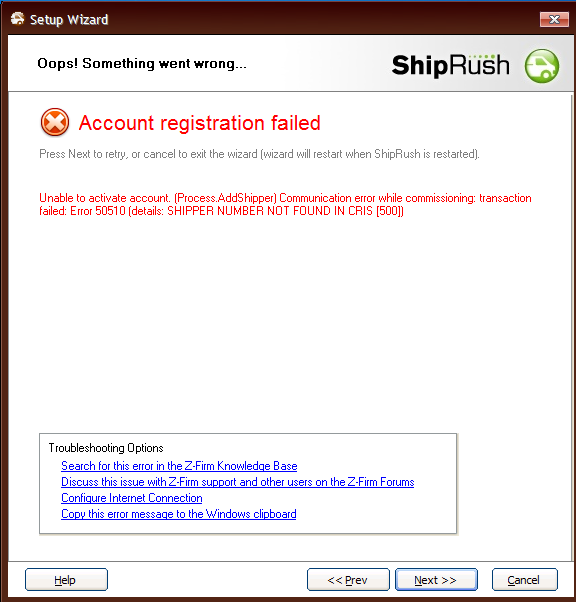
If this happens, please verify your UPS account information matches the UPS invoice information exactly and click Next to try again.
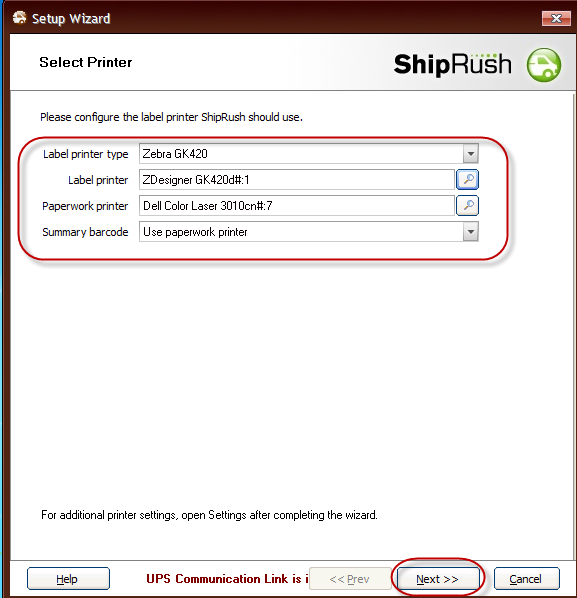
Upon successful account activation, the wizard will prompt you for your printer information. Please select the type of label printer the UPS labels will be printed to and then that specific printer on the network in addition to a laser jet printer for any UPS related paperwork to be printed to. Please note: Only the types of printers in the list are supported by ShipRush for printing labels.
Figure 14: Selecting Printer
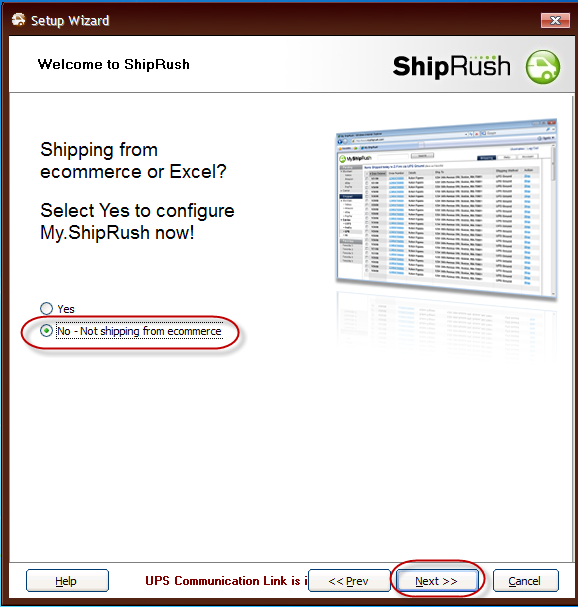
The install with then ask if ShipRush for Ecommerce is being used. Select ‘No – Not shipping from ecommerce’ and then click Next to proceed.
Figure 15: Welcome to ShipRush
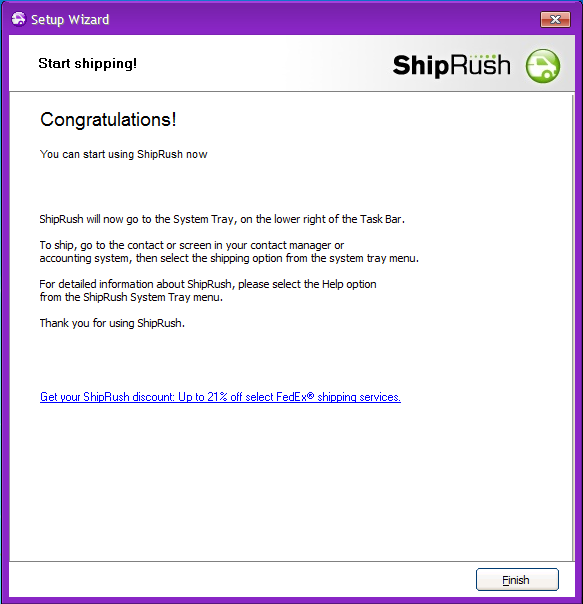
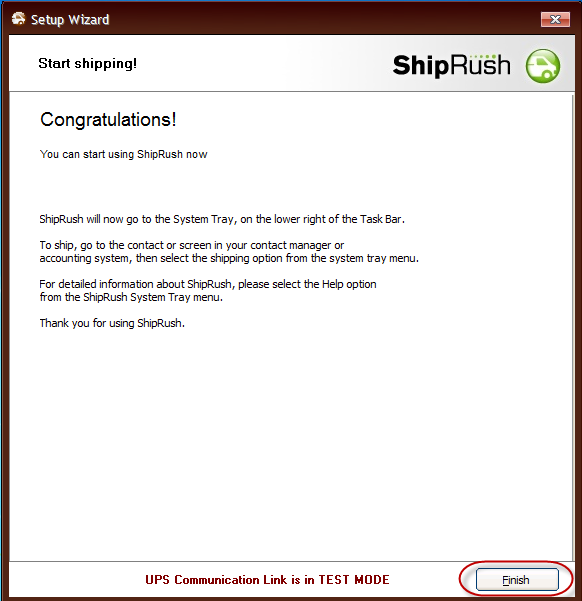
The system will then congratulate you on a successful installation. Please click Finish.
Figure 16: Setup Complete
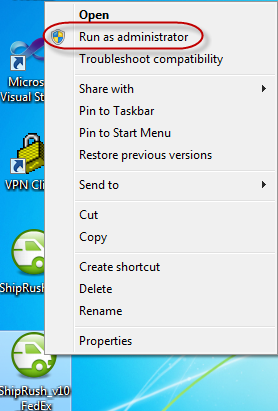
If there is also a need to ship via FedEx, after the UPS version has been installed, proceed with installing the FedEx version of ShipRush by again right clicking on the installation program and selecting ‘Run as Administrator’.
Figure 17: Run as administrator
If you just finished an installation of ShipRush UPS Pro, you will likely get the following message:
Figure 18: ShipRush is running
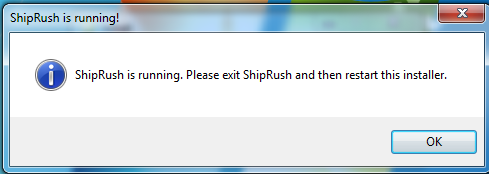
Please click OK to remove the message and then click Cancel on the following screen if it appears.
Figure 19: Program Compatibility

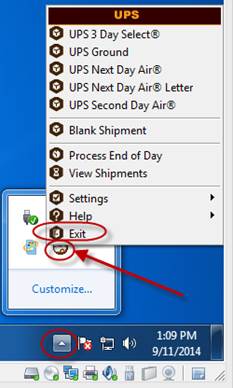
Next, right click on ShipRush in the system tray of your computer and select Exit to close the program.
Figure 20: Closing the program
Now that UPS for ShipRush is no longer running, right click and select ‘Run as Administrator’ to restart the installation of ShipRush for FedEx. Once the program launches, you will see a couple of quick screens flash by where it is preparing setup and installing.
Figure 21: Preparing setup

Once those are complete, it will prompt you to install and start the service. Select Next to do so.
ShipRush will start the service and then prompt to accept the ShipRush License Agreement.
Click “I agree to terms and conditions” and then select ‘Next’ to proceed.
ShipRush will next prompt to agree to the FedEx End User License Agreement. Again, select “I agree to terms and conditions” and click Next to proceed.
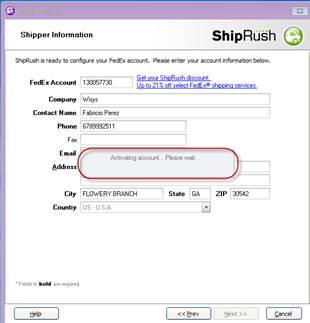
The next screen will ask you to enter your FedEx account information. This information MUST MATCH EXACTLY to what is on the monthly invoice you receive from FedEx. Any changes may cause the account validation process to fail. Once the necessary information is entered, please click Next to continue.
You will see the account being activated.
Figure 22: Account being activated
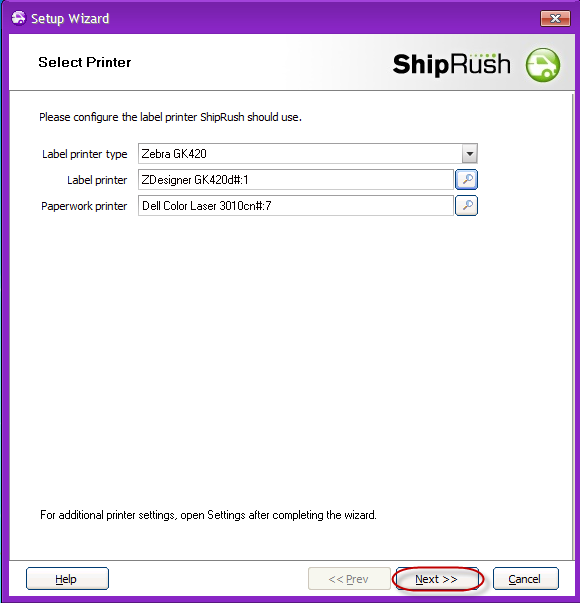
Upon successful account activation, the wizard will prompt you for your printer information. Please select the type of label printer the FedEx labels will be printed to and then that specific printer on the network in addition to a Laser Jet printer for any UPS related paperwork to be printed to. Please note: Only the types of printers in the list are supported by ShipRush for printing labels.
Figure 23: Selecting Printer
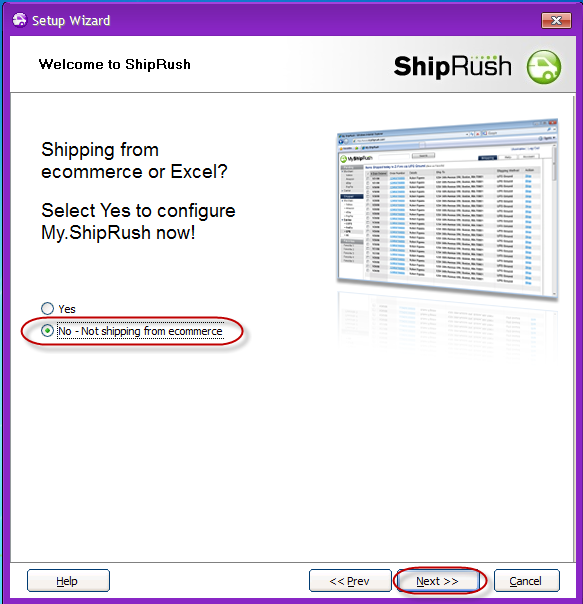
The install with then ask if ShipRush for Ecommerce is being used. Select ‘No – Not shipping from ecommerce’ and then click Next to proceed.
Figure 24: Welcome to ShipRush
The system will then congratulate you on a successful installation. Please click Finish.
Figure 25: Setup Complete