
PO ITEM RECEIVING
For information on setup for this and other Agility WMS processes, please visit Agility Options-WMS
On the main menu of Agility Mobile tap the Distribution tab and then tap the PO Item Receiving icon.
Figure 1: PO Item Receiving Icon
When PO Item Receiving launches, the first field that is highlighted is Item. You can look up the Item by tapping on the ellipse. You can also scan or key the item number in this space.
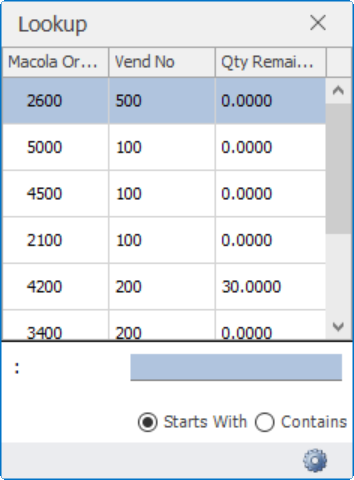
The next screen will present a list of open Macola orders to choose from.
Figure 2: Finding the PO
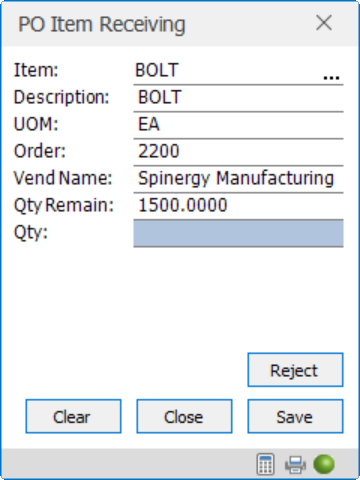
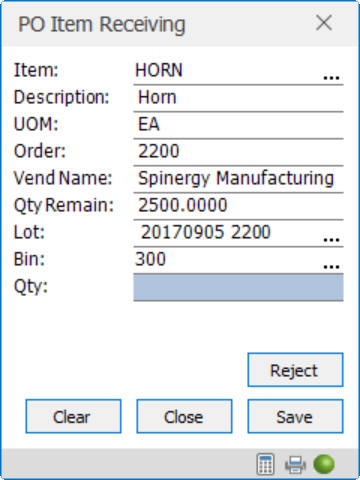
Once you select an order, the next screen will populate with the item description, the UOM, the vendor, and the quantity remaining on the purchase order.
Figure 3: Populating the item
When the "Qty" field is highlighted you can key or scan the quantity you are receiving. Depress "Enter" or tap "Save" to move on to the next item to be received. A carton label will print after "Save" has been depressed.
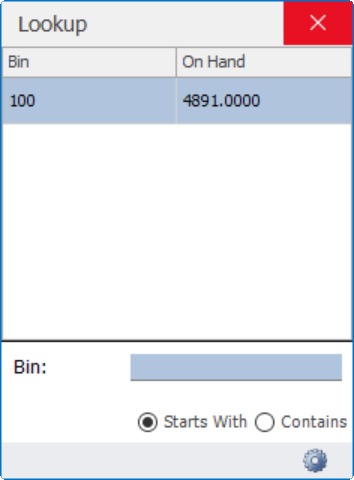
When receiving a binned item, the item will automatically be received into the default receiving bin if it has been previously configured. If a default receiving bin has not been set up, you will be asked to enter a bin each time an item is received.
A list of available bins will be presented.
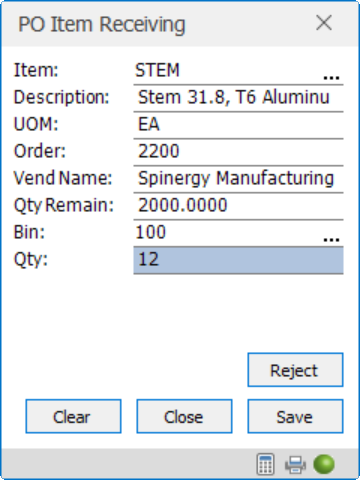
Enter the quantity to receive and depress "Enter" or tap "Save".
Figure 6: Entering quantity
When receiving more items than are remaining on the PO, a message will appear asking if you would like to over receive.
Figure 7: Over Receiving
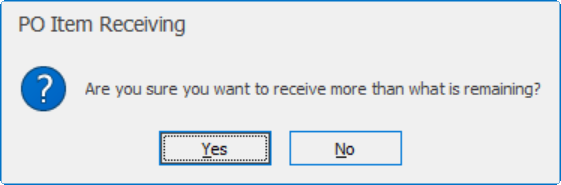
Tap "Yes" to confirm over receiving or "No" to go back and enter a different quantity.
If the item you are receiving is serial/lotted, you will see a Lot field on the screen.
If you have set up the PO receiving lot information in Serial Lot Numbers under Options in Agility, your lot number will automatically populate. If you would like to receive to another lot click the three dots.
Figure 8: Displaying the lot
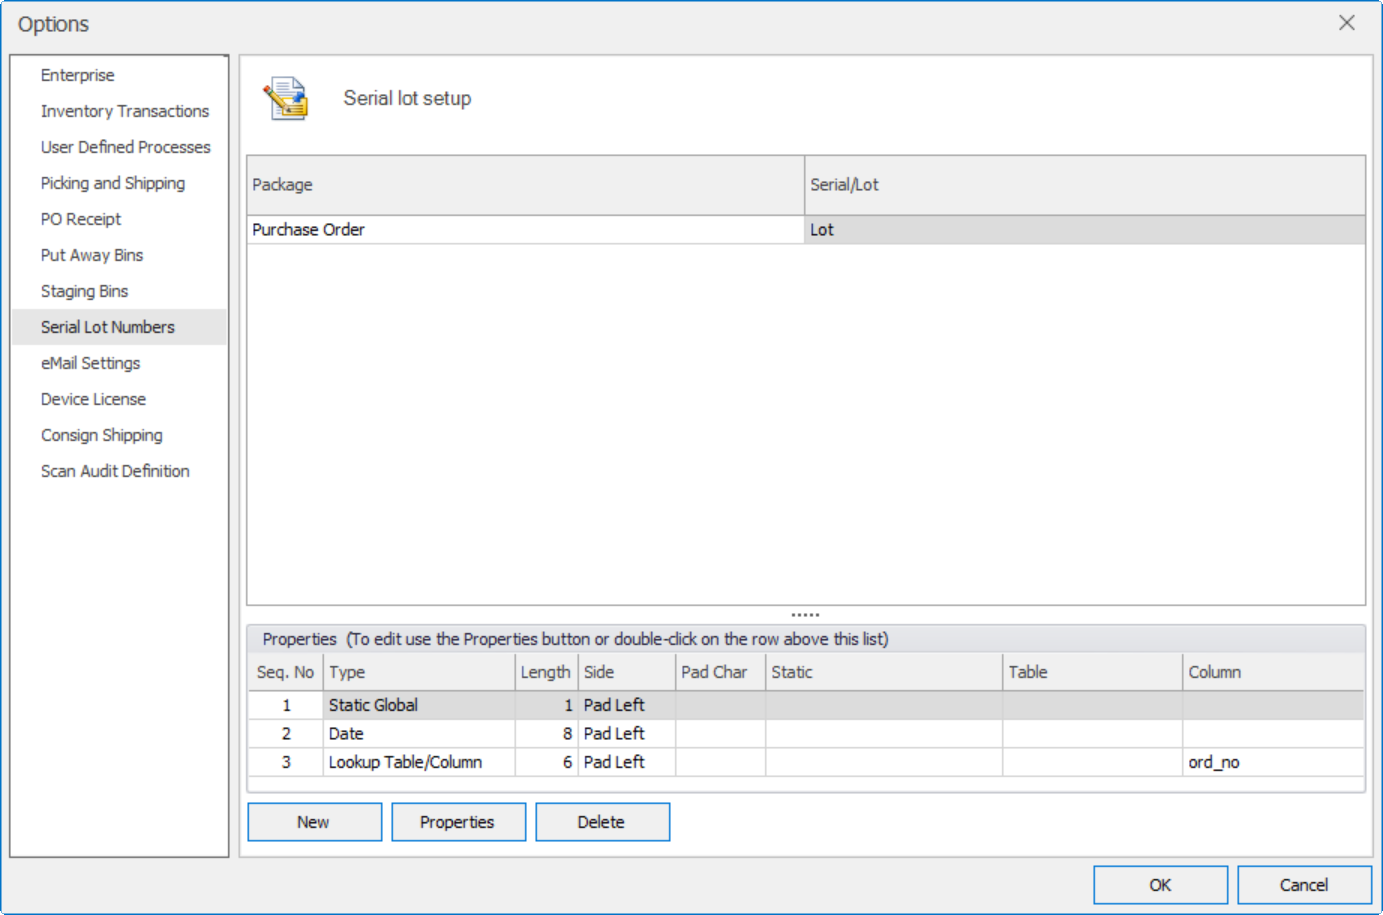
The serial/lot number automatically populates based on the settings created in Serial/Lot Setup.
Figure 9: Serial/Lot population set up
Click "Save" to end the transaction.
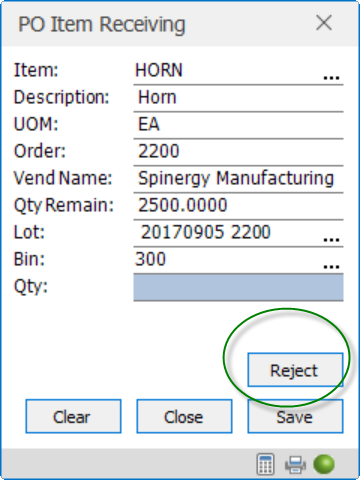
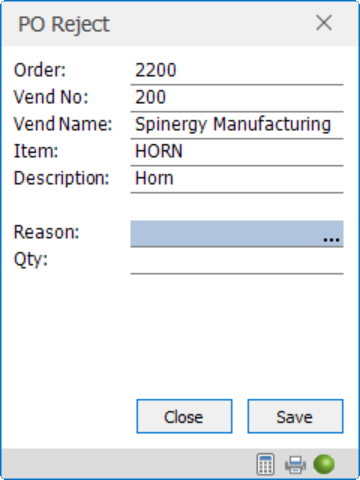
If you need to reject an item for receipt, tap on the button near the bottom of the screen.
Figure 10: Reject button
A second screen will appear. Click the ellipse on the right side of the box labeled "Reason". A list of reason codes will appear. Select the reason code to return to the previous screen. Enter the quantity to reject and click "Save".
Figure 11: Reject Reason Code

Complete the transaction as above.